Showing posts with label home projects. Show all posts

Monday, September 05, 2011

Compost Bin

As part of expanding our gardening efforts, I decided to build an additional composting bin that would allow us to store more composting materials and be more intentional about layering "brown" materials (high amounts of carbon) and "green" materials (high amounts of nitrogen). The suggested ratio between the two is 30:1, which is good because our chickens eat most of our "green" materials anyway.

Thankfully, this project didn't take nearly as long as the chicken coop (and only required one Home Depot trip), but it was still fun to break out the ol' power saw.  

The front of the bin is made of cedar slats to make it easier to turn and remove the compost.

"Cooking" the compost.


Friday, July 08, 2011

Repurposing

In the last few weeks, Cliff and I have really tried to take a hard look at our home and consider if the space we have is being utilized well. One of the areas that has bothered me for awhile now is our front entry. It had two hooks available for coats, jackets, purses, etc. but it lacked personality.

While garage "sailing" a few weeks ago, I found three old windows for $1 each! It was SUCH an amazing bargain. I bought one and then Cliff and I went back for the other two. We were thrilled. We ended up putting one outside on our fence and were so happy with how it turned out. I had a vision for how to use one of the others inside to spruce up our boring entry.

I took the old window and attached four hooks that I bought at Target very inexpensively. Then I found some cork squares at Staples and trimmed those down to fit inside the window panes. Then Cliff attached it to the wall for me!

Now, as we come and go from our home, we see faces of our favorite people - family and friends who love and care for us, yet still have hooks there for all the items that must be hung. I think this was a successful project!

We still have one more window - any ideas for us?

Wednesday, May 04, 2011

Coop Complete

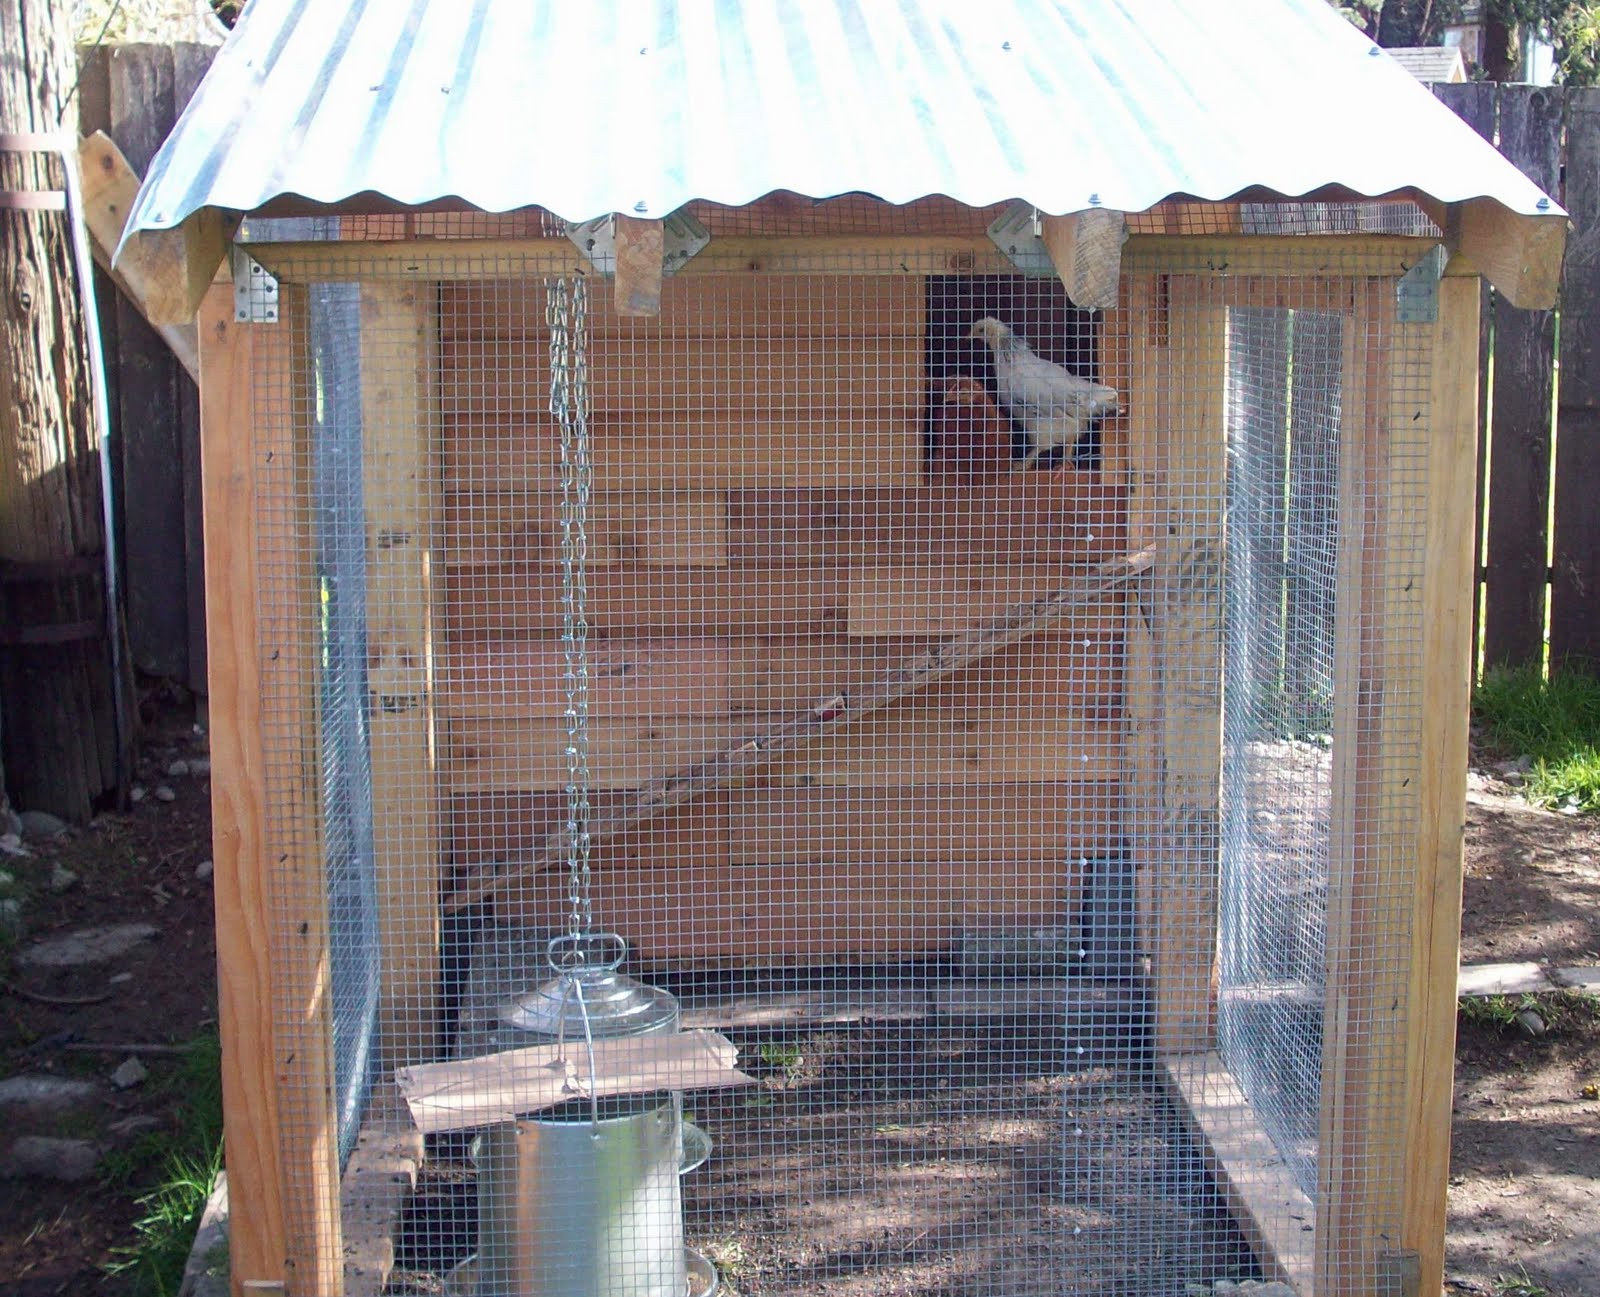
Like any good do-it-yourself project, the coop construction took longer and cost more than originally expected, but I'm happy to announce that it's finally complete. It turned out to be a lot of fun--even the seemingly endless trips to Home Depot--and I'm pleased with the results.


Doors to the nesting boxes (above) and storage (below).

Checking out their new home.
In the next few days the chicks will move in complete, but for now, they're just spending the day in the coop, and continuing to sleep in our guestroom/barn at night.

Sunday, April 17, 2011

Coop Update

At this point the coop is about 90% complete. I just need to install the doors on the far side where the nesting boxes are, as well as the storage space beneath them. It looks like we might actually have a few sunny days in a row this week (finally!), so hopefully I'll get a chance to finish the coop this week. The chicks are getting big so fast, they might need to move in ahead of schedule.

(side weather note: We've yet to break 60 degrees this month and if that remains the case, it'll be the first time in history for the month of April.)

added cedar siding

faithful "helper"

side view (Can you spot Gunner's friend in the pic?)

one more side to complete

nearly complete

Sunday, April 03, 2011

Coop Update

The chicken coop is really starting to come together. Here are some pictures of the progress I've made the last two weeks.
door

nesting boxes

roost

frame for the chicken run

side view

coming together

Thursday, March 24, 2011

Raising the Roof

Coop construction continued this week after we got back from Mark and Michelle's wedding in Kentucky. We've had a few nice days of weather, and with daylight savings finally starting to payoff, I've been able to grab a few hours here and there in the mornings and evenings to continue working.

This morning, I made another trip to Home Depot (I should seriously consider buying stock) for some roofing material, hinges, and other odds and ends. This evening, I was able to attach the roof, which I framed on Monday. I still need to attach the metal roofing, but it was fun to see what it'll eventually look like.

wood frame for roof
metal roofing
my two helpers

Tuesday, February 23, 2010

Cloche Building

A few weeks ago, after reading Square Foot Gardening by Mel Bartholomew, I measured, cut, and stapled pieces of string to form our grid of one foot by one foot plots. My hope was that this would inadvertently keep Gunner out of the veggie beds as well--no such luck.

So I then used five-foot-long stakes to construct what will eventually be a trellis for our peas, beans, cucumbers, and tomatoes. I also attached two shorter stakes at the opposite corners and wrapped two levels of twine all the way around the veggie beds. Mackenzie said it looked like a boxing ring, but my hope was that this, in addition to the grid, would keep Gunner out--wrong again.

In thinking through the best way to Gunner-proof our beds, I decided to try building a cloche. This would also help keep the birds out, and allow us to regulate the amount of water the seeds/plants get.

We first tried to simply drape some pieces of plastic over the existing "boxing ring" structure, but after a few straight days of rain, despite the slope from the five-foot-high stakes to the much shorter stakes, the plastic collapsed, causing one of the stakes to snap.

So we made another trip to Home Depot, and found some ten-foot-long, thin and flexible PVC pipe, as well as some metal brackets. We attached one side of the pipe to the outside of the veggie bed and then arced it over to the other side. I wasn't sure how much tension the pipe or brackets would be able to withstand, but the first attempt went off without a hitch.

The only problem was that the pipe was so long, it made the veggie bed look like a covered wagon--not much of an improvement from the boxing ring. So I took about a foot off the pipe, tried again, and then decided to take about another six inches off. Pleased with the results, we cut and fit all the other pipes, draped the plastic over, and stood back to admire our finished cloche.

The plastic at each end isn't tied down or attached, so Gunner could still potentially get in and make a mess, but if he does, I just might lose it. We don't need another "Marley and Me" moment.


Monday, January 25, 2010

Our Garden Adventure Begins...


Believe it or not, this is the time of year us west coasters start thinking about our gardens. Cliff and I haven't quite motivated ourselves to actually DO any hands in the dirt gardening yet, but we did a lot of talking this weekend particularly about our vegetable gardens.

You might remember that last year, we built vegetable beds in our backyard. We had some luck growing peppers, celery, sugar snap peas, and squash. Learning from last year's experience though, we definitely needed more of a plan and to do more than guess what works best for growing our own veggies. We learned that it is a bit more complex than our "throw it in the dirt and it will grow" philosophy.

For the last year, I've been intrigued by my friend Stacy's blog, Growing Green. She's had such success with her gardening adventure and her experience really motivated Cliff and I to be more thoughtful this year.

In developing the plan for our garden, we learned about the book, Square Foot Gardening: A New Way to Garden in Less Space with Less Work by Mel Bartholomew. This book is amazingly simple and really helped us plan our garden for the year to hopefully maximize our yield.

On Saturday, after putting our plan in place, I ordered our seeds for the year...
cucumber, beans, brussel sprouts, carrots, spinach, onions, radishes, beets, peas, leek, kale, lettuce, and swiss chard. The only plants we have yet to buy are tomatoes, red peppers, jalapenos, and our seed potatoes. We're ready for this growing season to begin!

Wednesday, November 18, 2009

Extreme Kitchen Makeover

Okay, so it wasn't that extreme, but we've definitely enjoyed the results. Mackenzie had been wanting to replace the floor in our kitchen for a few years now, but I was convinced it wasn't going to be worth the hassle. As usual, I was wrong. Not only was the Allure flooring from Home Depot inexpensive, it was also easy to install (I should get paid for this promo). Honestly, the hardest part was just finagling the stove and fridge out of the kitchen.

After installing the floor in just under three hours--nearly half of which was spent over-thinking the process--the floor was completely installed. Mackenzie then painted all the walls and molding. I know what you're thinking: Why on earth did you paint after installing brand new flooring? Well, I only had Saturday to contribute to this project, so my part needed to be done first to allow Mackenzie to paint on Sunday and Monday.


Again, I was pleasantly surprised with the outcome. I always have a tough time envisioning the finished product based on a tiny sample of paint color and flooring. Honestly, I didn't expect the paint color to be so vibrant. Mackenzie tends to like blues and greens, which is somewhat contrary to what you'd expect to brighten and warm a home in the Pacific Northwest--particularly during the soggy, gray winters--but it actually does the trick.

Overall, it was one of the smoother home improvement projects at the Ellis household. Typically, I get impatient with Mackenzie's numerous questions throughout the process, and she gets frustrated with my impatience (rightly so), but in this particular case, God allowed us to be gracious with each other and actually work well together.

I can't say I'm in a rush to start another project, but I'm pleased with the way this one turned out.

Sunday, May 10, 2009

Yard Project: Raised Veggie Beds!!

We often refer to our house as Ellis Orchard, because of our two prolific fruit trees in the backyard. Now, however, we will have to start refering to it as Ellis Farms. This weekend we built and planted two 8' x 4' raised vegetable beds. (By we, I mean Cliff.) It was a project, but fun to do and the finished product is awesome! So in a few months we will harvest: tomatoes, sugar snap peas, brussel sprouts, yellow squash, zucchini, broccoli, celery, onions, bell peppers, 2 varieties of lettuce, blueberries, strawberries, rasberries, and blackberries.

Of course in order to grow veggies, you need soil. We were surprised to learn how expensive dirt is to have delivered to your house, so being the deal seekers we are, I got on CraigsList and found free dirt. Not only was the dirt free, but the guy was also willing to deliver it to us. Now that is a deal! So, Thursday afternoon, we came home to a very large pile of dirt. Emphasis on VERY!


The next morning we laid out our boards, and then Cliff made the raised beds. Gunner was a huge help as you can only imagine. :)


After the bed frames were constructed, we staked and leveled the beds, and then made them very sturdy by screwing the frame to the stakes. Then we filled the beds with dirt, compost, and finally with the veggies! We can't wait to harvest our crops.


Monday, July 17, 2006

Project...after Project...after Project...

We are working like crazy on our house...not because it wasn't perfectly fine in the first place, but because we want to add personality. Do you ever enter into a project with all these great ideas, envisioning the end product, only to get halfway through and want to never have started? Well, we aren't quite there, but it sure is getting close! :)

Over the last four months, we have seen our home transformed from a house with no plants and white walls to a very colorful place. We were talking last night about how much we have enjoyed this journey! The journey continues...that's for sure - with no end in sight!

This week, we painted furniture, installed two new light fixtures (with help from dad!), hung all kinds of things up on our walls, bought new decor, built a stone retaining wall with free landscaping stones from craigslist, and bought a shed at Home Depot that Cliff and others are building this weekend. While they're building the shed, I'll be painting more furniture and refinishing a chest. Yikes!

Like I said, it is fun to see the finished product, but whew...I'm tired!! :) Love to you all...keep us in your prayers as we dive into all these new projects while teaching summer school! As always, you're all welcome to come stay with us and see the new place!!!